This is part 2 of a 2 part series on setting up Continuous Integration (CI) and Deployment (CD) for your Visual Studio Projects. Missed part 1? See it here on Continuous Integration.
Before we begin with Continuous Deployment we will need to set up a hosting environment for our soon to be deployed website. This demo will use Microsoft’s own Azure cloud hosting platform. You can sign up for a free trial at azure.com and once the trial runs out you will still be able to use many of Azure’s free features if you don’t wish to pay.
- Once signed up go to https://portal.azure.com and create a new web app resource:
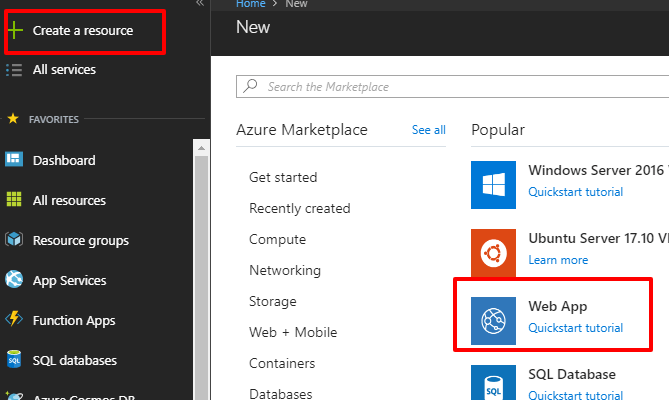
- Give your site a name and leave all the other options as they are
- It’s as simple as that, we will connect up our CD release to this web app later on.
1. Go to your VSTS project site in your browser
- https://your-account.visualsudio.com
- Choose your project from the list of projects and go to the project dashboard
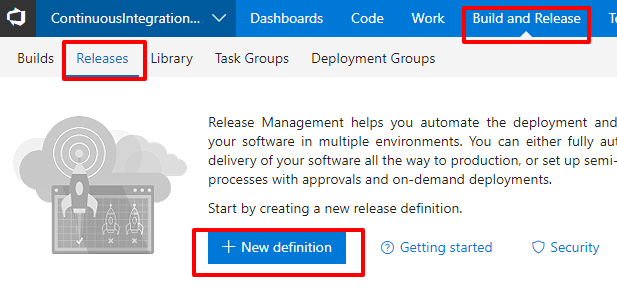
2. Start the process of setting up a new release definition by clicking on “Build and Release” link,
- Select “Releases” link
- Select “+ New definition” link
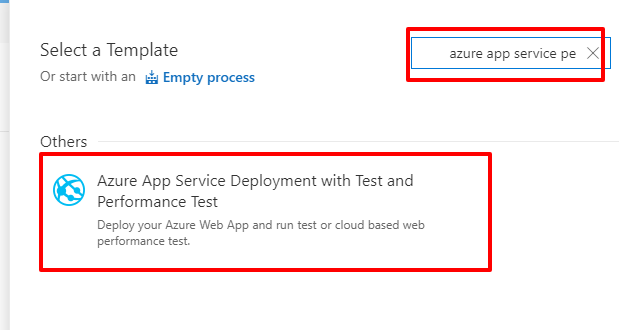
- You will see a long list of possible release definition types on the right of the screen, For this example we want to choose “Azure App Service Deployment with Test and Performance Test”. If it doesn’t appear on your list use the search box provided:
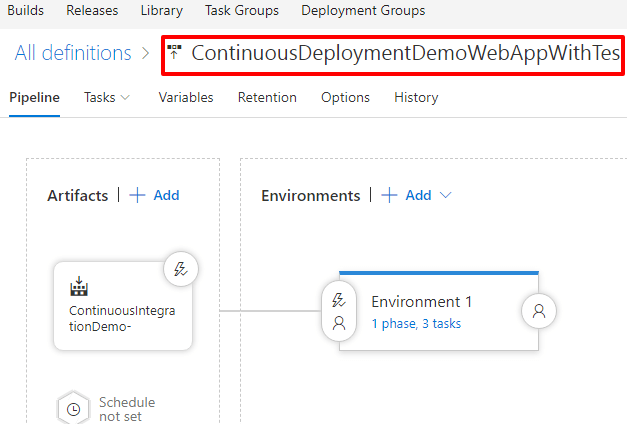
- Attach/Add Build Definition created during the CI stage as the Artifact, once added it should appear like so:
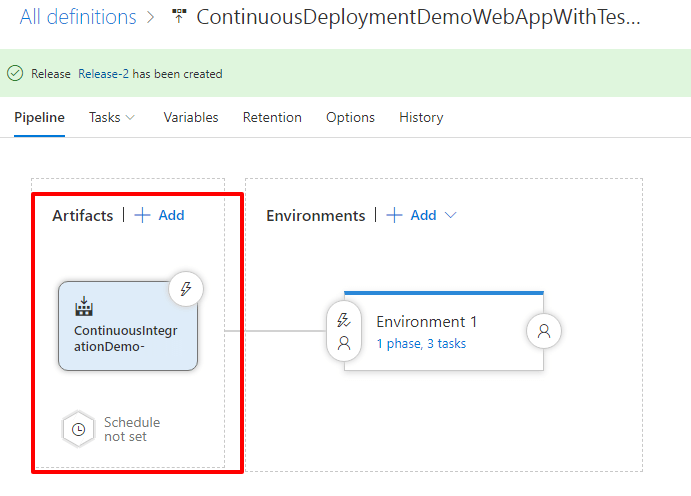
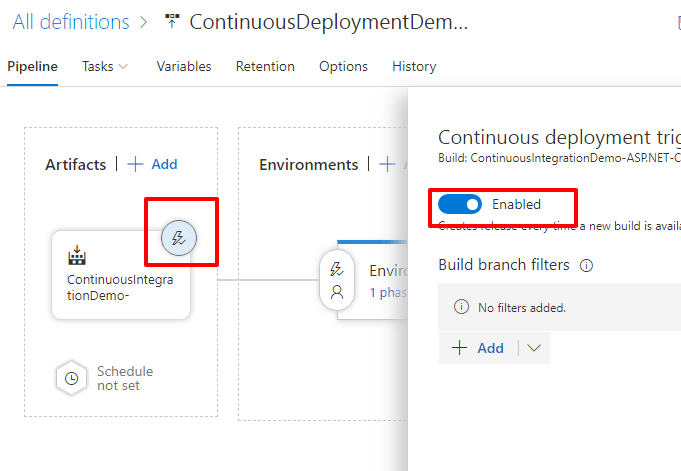
- Then make sure you set the deployment to be triggered automatically after every build by clicking on the lightning bolt and enabling the CD. Finally click “Save” to save changes:
- Give your build definition a meaningful name. For this demo I replaced “New Release Definition” with: ContinuousDeploymentDemoWebAppWithTestsRelease
- Next click on “Tasks” tab -> Environment 1
- Select your Azure subscription and App service that you would have created at the top of this post
- Click on the Save link in top right corner once complete
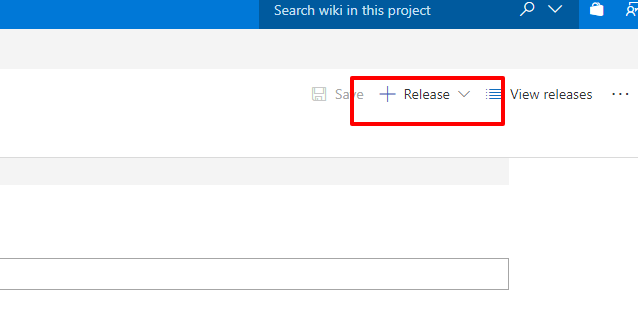
3. Create a new Release
- Start by selecting “Release” -> “Create Release” located next to Save link from previous step. This is totally necessary as new releases will be created after each build, however, this is a good way to manually create a release to see if there are any issues with the deployment, etc.
- Select the Release link – Note that this will open up a new tab
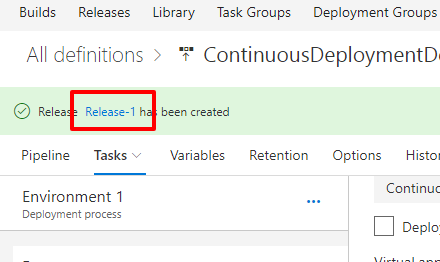
This will give details of the first release that was triggered on creation, check the logs for errors if the release failed
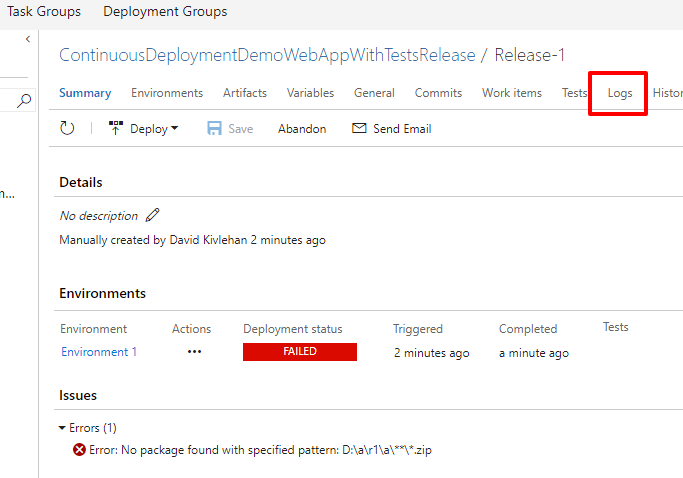
If it succeeds it will look like this:

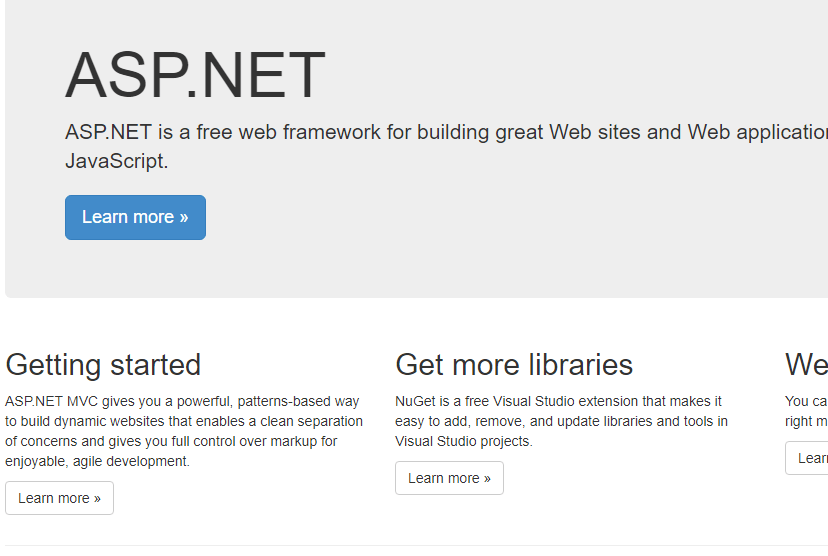
Go to your Web App homepage – defined in Azure, it will be something like https://your-app-name.azurewebsites.net/
It should now look something like this:
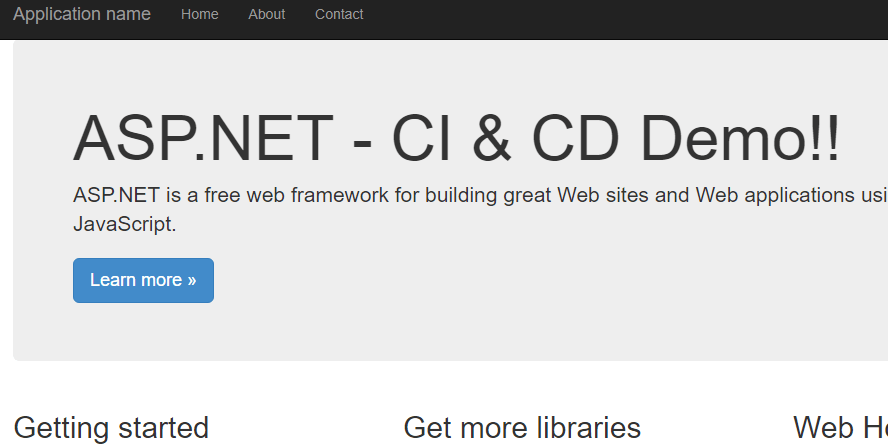
4. To test out your CI and CD in action go back to your solution in Visual Studio 2017, open up the index.cshtml view and change some of the text:
- For example change text of H1 from “ASP.NET” to “ASP.NET CI and CD Demo!!”
- Save changes, build solution, commit changes locally and sync/push changes to VSTS in Team Explorer
- Wait a few minutes for the project to build and deploy online
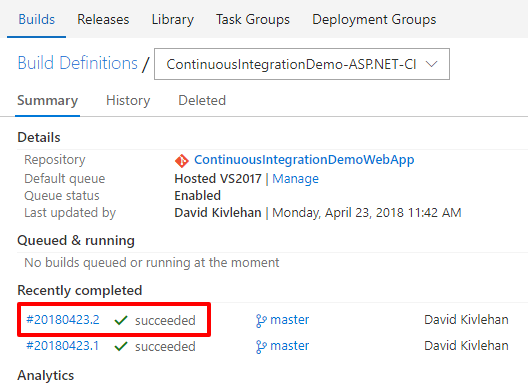
In VSTS you should see a new build definition added to Builds section as well as a new release in the Releases section, your website should have also been updated:
Missed the Continuous Integration tutorial? Click here to view.